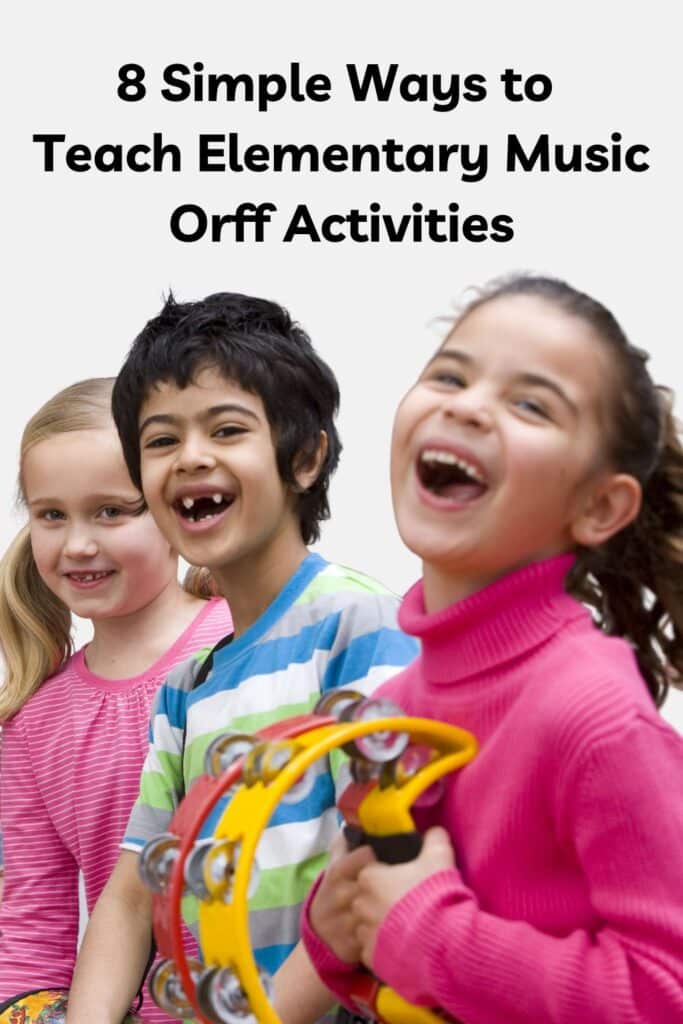
8 Simple and Effective Ways to Teach Music Orff Activities
Orff music activities are designed to help elementary students develop their musical skills through fun and engaging lessons.
Some of the links on this site are affiliate links. If you click on a link and make a purchase, I may earn a small commission at no cost to you.
Orff activities strengthen music reading and performance skills while giving students space to create, improvise, and work together. They also support important learning skills like focus, fluency, and working memory, skills that carry over into other parts of the school day.
With limited time in elementary music classes, it’s essential to use routines that are efficient, consistent, and easy for students to follow.
Below are simple techniques that increase student success, reduce frustration, and make Orff activities more fun for both students and teachers.
What’s in this post? Click to open the Table of Contents
1. Choose a Topic or Theme
Orff activities are most successful when they’re built around a clear topic or theme. A theme gives students a shared focus and makes the creative process more meaningful.
Storybooks are an excellent starting point and naturally support rhythmic and melodic ideas. Other themes might include seasons, holidays, character traits, or something specific to your school, such as a mascot, school motto, or school song.
Once a theme is selected, guide students to create short rhythmic speech phrases related to that topic. To set students up for success, limit patterns to 4-beat or 8-beat phrases based on their age and experience level.
Keeping patterns short and focused allows students to concentrate on steady beat, accurate rhythm, and confident performance before adding additional layers later in the process.
2. Add Body Percussion
Movement helps students internalize the beat and feel rhythm in a physical way. It also supports ensemble skills by reinforcing steady tempo and group awareness.
Guide students to add body percussion that matches the rhythm patterns they’ve created. Choose movements that are developmentally appropriate and easy to repeat accurately.
If students are seated on the floor, try:
- Pat (lap/ floor).
- Tap R knee/L knee.
- Tap chest.
- Pat shoulders (arms crossed).
- Tap right shoulder, tap left shoulder.
- Snap fingers.
- Rub hands together.
- Pat cheeks.
- Click tongue.
Add these moves if students are standing or sitting in a chair.
- Stomp right foot, stomp left foot.
- Stomp both feet.
- March in place.
Take cues from your students and develop a movement bank of any additional appropriate movements you see them improvising. This keeps activities student-centered while maintaining a clear structure.
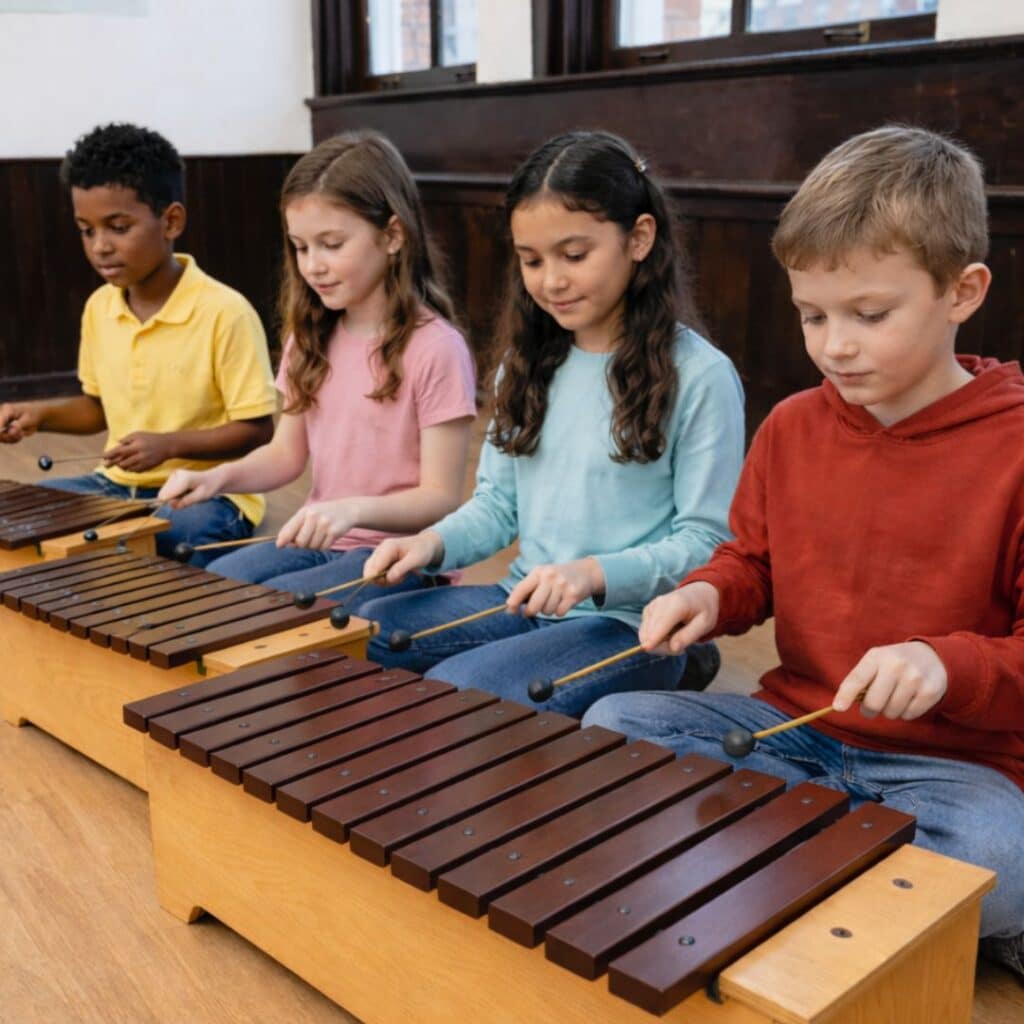
3. Add Instruments
Before students begin playing, model proper playing technique and instrument care. Then allow a short exploration period so students can become familiar with the sounds their instruments make.
Keep this exploration short and at a soft dynamic level. Remind students that musicians warm up before they play, and frame this time as a warm-up rather than free play. Soft playing reinforces good tone, dynamics, and overall musicianship.
Spending one or two minutes on this step helps reduce interruptions later and sets clear expectations before moving on to more focused playing.
4. Say and Play
The “say and play” technique helps students connect spoken rhythm with what they perform on their instruments. Begin by saying the rhythm pattern aloud while students echo the words and play the rhythm simultaneously.
This reinforces accurate rhythm and supports students who are still developing coordination between speech and playing.
To keep repeated practice interesting, change the inflection, volume, or character of your voice each time you repeat the pattern. Variety keeps students focused and makes practice feel less repetitive while still reinforcing the same musical skills.
Get silly with it and have fun!
5. Layer Patterns
Once students are confident performing rhythm patterns in unison (and they’re developmentally ready) begin layering patterns to create 2, 3, or 4-part speech pieces.
Start with vocal patterns only, no instruments. This allows students to focus on listening, steady beat, and independence before adding another layer of complexity. When the vocal layers are secure, transfer the patterns to instruments.
It’s helpful for the teacher to keep a steady beat using an instrument with a contrasting timbre. A low-pitched hand drum works well because it stands out from student instruments without overpowering them.
More Simple Tips to Facilitate Orff Activities
- Assign instruments with different timbres to each pattern. This helps students discriminate between the distinct parts.
- Group students playing the same instrument together.
- Seat students strategically by placing stronger players next to those who need extra support.
- When creating melodic patterns on barred instruments, remove the fourth and seventh scale degrees and use only pentatonic pitches to avoid discordant harmonies.
6. Help Students Notate Patterns to Preserve Their Work
Music literacy and Orff instruction work best when they support each other. Take a few minutes to help students notate the rhythmic or melodic patterns they create so their ideas aren’t lost from one class to the next.
Notation allows students to remember their work, reflect on it, and build on it in future lessons. Even simple notation reinforces important music reading skills and helps students see how sound connects to symbols on the page.
For a clear, student-friendly approach, take a peek at 3 Simple Steps for Reading Music to help your students become independent music readers.
7. Play Around with Form
Once students have created and mastered a short composition, extend the learning by adding another section built around the same theme. Help students notate the new section so it’s easy to remember and revisit.
Perform the sections in different orders to introduce musical form. This helps students understand structure while keeping the activity creative and flexible.
Common forms to try include:
- ABA
- AABB
- ABAB
If time allows and students are ready, add a third section to create a longer composition. Try forms such as:
- ABC
- ABACA (Rondo form)
- ABCBA
Program one of your original pieces at your next concert. Or, film a video of a classroom performance and share it online. This reinforces that student-created music is performance-worthy.
8. Increase Student Success Playing Barred Instruments
Before students play on barred instruments, take a minute or two for “air play” practice. Display a xylophone, metallophone, or glockenspiel template on your classroom whiteboard and guide students through the motions while singing pitch names.
Air play gives students a chance to practice hand position, mallet movement, and pattern direction before actually playing.
Air play practice takes only a minute or two, but it greatly decreases the amount of practice time needed to prepare students for performance. It’s time well spent!
For step-by-step air play directions, see this post: How to Facilitate Orff Activities with Interactive Xylophone Templates.
A Note About Classroom Expectations
Clear expectations are essential when using instruments. Teach and model proper instrument handling and participation. If a student does not follow expectations, remove the instrument the first time it happens.
Have the student continue participating using body percussion or a paper xylophone template. Briefly explain that positive participation earns the instrument back.
Avoid stopping instruction to address repeated interruptions. Do not allow playing out of turn, unnecessary noise, or mistreatment of instruments. Address issues quickly and consistently so learning time isn’t lost.
When expectations are clear and enforced from the beginning, Orff activities run more smoothly and students stay focused on making music together.
Be Creative!
There’s no single “right” way to teach Orff activities. Use approaches that fit your teaching style and meet the needs of your students. At the same time, a few guiding principles can make planning and teaching more effective.
- Only introduce one new concept per lesson.
- Build in enough repetition for students to feel confident.
- Adjust activities to support different learning styles.
- Look for simple ways to incorporate technology when it supports learning.
- Make sure you’re comfortable with each element of the lesson before teaching it.
- Begin performance preparation early and allow plenty of rehearsal time.
Thoughtful pacing and clear routines help students be successful while keeping lessons manageable and focused.
Have Fun!
Teaching Orff activities should be enjoyable for both teachers and students. Music creates opportunities to connect, build relationships, and make lasting memories. When students sense your enjoyment and confidence, they’re more likely to feel comfortable taking musical risks.
Enjoy the process, celebrate progress, and remember that meaningful learning happens when students are actively making music together.
See more Orff lesson ideas for elementary music classes.
No-Prep Elementary Music Orff Activities
Looking for ready-to-teach elementary music lessons with differentiated Orff accompaniments? These no-prep Orff activities support music literacy, performance, and student success while saving planning time.
Browse the Differentiated Orff Activities to find flexible lessons that work across multiple grade levels and fit easily into your existing plans. 🎶
Meet the Author
Terri Lloyd is an experienced music educator with over 25 years of teaching in elementary music classrooms. She holds a Master’s in Education, an Instructional Technology Certificate in Curriculum Design, and a Bachelor of Music. Her resources are designed to help music teachers develop students’ music literacy and performance skills while enjoying learning.
She presents music education workshops, develops curriculum, and writes for her blog. Terri is on the music staff at her church and leads a children’s program. She performs as an active community musician with a local Big Band, pit orchestras, and at various events.