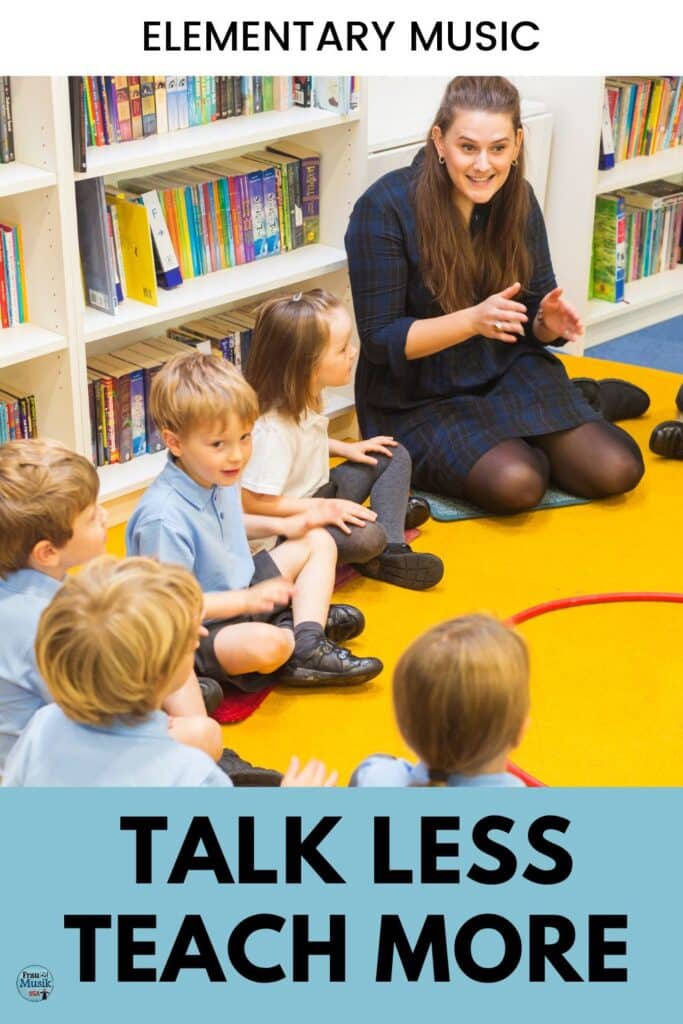
Teaching Elementary Music Tips to Talk Less and Teach More
Effective elementary music teaching techniques help you talk less and teach more by streamlining your lessons and engaging all students.
Some of the links on our site are affiliate links. If you click on a link and make a purchase, we may earn a small commission.
I taught for three days with absolutely no talking. I had completely lost my voice. It was so bad that I couldn’t even call the doctor. I had to go to her office and hand the receptionist a note to get an appointment.
You can be a more effective elementary music teacher if you talk less and teach more music. This might sound counterintuitive, but these proven techniques can help. The specific strategies and methods outlined below will boost student engagement, save your vocal chords, and make your job more enjoyable.

What’s in this post? Click to open the Table of Contents
- Use Simple Vocabulary with the Bare Minimum of Words
- Use Silent Signals – Actions or Sign Language
- Common Teacher Signals
- Use Transitions Activities and Friendly Reminder Songs
- Incorporate Simple Directions Into Your Projectable Lessons
- Observe, Re-evaluate, Modify
- Be Organized. Never Ask Kids to Sit and wait During Class.
- You Can Talk Less and Teach More Music
Use Simple Vocabulary with the Bare Minimum of Words
When directions get too detailed, kids will tune you out anyway. So, it’s beneficial to use simple commands such as these.
- Echo me.
- Do this.
- Follow me.
- My turn.
- Your turn.
These simple directions are often the best way to communicate with the special needs students in your music classes. But they’re effective for all students as well.
Use Silent Signals – Actions or Sign Language
Consider teaching a simple core set of sign language vocabulary to all of your students. Although sign language pairs well with music, it is not necessary to know sign language to use silent signals. Actions and signals that are immediately understood work also. Below are some signals that will provide universal communication.
Common Teacher Signals
- One or both hands on your chest to indicate the teacher’s turn to sing or play.
- Hands out palms up toward students to indicate the students turn to sing or play.
- Arms straight out pointing toward a line of students to indicate students in a straight line.
More universal signals and motions.
- Stand up
- Sit down
- Come here
- Follow me
- Stop
If necessary, you can send a student to the safe seat without saying a single word. Point at the student then point to the safe seat while still continuing the activity you’re teaching. This may prevent a power struggle that words can often bring on. If the student doesn’t respond, repeat your signals while continuing class. It will take students a little while to get used to your signals.
Make sure you deliver these signals with a SMILE on your face, even when you send a child to the safe seat. Everyone makes mistakes and you’re simply helping them get back on track.
Develop your own core signals using sign language and/or body language. You can already communicate way more than you think without any words.
Use Transition Activities and Friendly Reminder Songs
Plan for smooth transitions. Make sure supplies are available and easily accessible. Students should know the procedures for getting instruments and supplies. Use friendly reminder songs to fill those transitions and correct minor misbehaviors. No one likes to be nagged. Students will turn you off anyway.
I wrote a series of Friendly Reminder Songs to help establish and reinforce daily classroom procedures. These are VERY simple songs that are meant to be sung a capella “on the fly” as needed.
- Write Your Name
- I Will Not Interrupt
- Voice Off, Voice Off Time to Walk in the Hallway
- Criss Cross Applesauce
- Taking Turns
- Clean Our Room
- I Will Not Whine
- Cooperation, No Tattle Tailin’
- Eyes on the Teacher, Eyes on the Board
The best part about using these songs is the spirit with which they’re sung. Have FUN with them. They truly are “friendly” reminders. They should be sung as such. The songs are NOT meant to be punitive in any way. And, you can create your own friendly reminder songs to fit any situation.
Incorporate Simple Directions Into Your Projectable Lessons
Type simple instructions into your projectable lessons. I like using PowerPoint or Google Slides to organize and display lessons on my whiteboard. Consider making the directions a different color or using a bold font so they stand out.
Put the directions in an obvious place and be consistent so students know where to look from lesson to lesson. The upper left-hand corner is an intuitive placement for directions. Then point to the instructions as you begin an activity.
Depending on the age and reading abilities of your students you may. . . .
- Read the simple directions aloud.
- Read the directions but pause and prompt students to fill in a few missing words.
- Simply point to the instructions as you begin an activity.
Having directions embedded into your activities can prevent power struggles with certain students because you’re not the one telling them what to do (even though you designed the lesson). This also makes it easier for a substitute teacher to deliver your lessons.
Observe, Re-evaluate, Modify
This tip sounds so simple, but it is not. KEEP YOUR EYES ON YOUR STUDENTS. Observe what they’re doing. Read their subtle, and not-so-subtle, body language. Are they starting to “check out” on you?
Will a simple change of proximity help a child tune back in? Do you see a look of confusion? Do you need to give a simple clarification?

As teachers, we should constantly be vigilant about maintaining student focus, checking for understanding, and maintaining student engagement. But it doesn’t take a lot of words.
Be Organized. Never Ask Kids to Sit and Wait During Class.
If you want to talk less and teach more music, you have to be “uber” prepared. Lesson plans should be organized so one activity flows immediately into the next. I LOVE using PowerPoint or Google Slides to organize lessons.
With a simple click or tap of the whiteboard, we’re onto the next activity. When using audio files, embed them into your presentation. Anytime students have to wait is a waste of valuable time and this often creates discipline problems.
You Can Talk Less and Teach More Music
You’ll enjoy teaching more and your students will enjoy learning more when you use these simple techniques which engage all students. Best of all, you’ll teach more music. And, these techniques are for everyone, even if you don’t lose your voice periodically.
Give a few of these tried and true techniques a try in your elementary music classroom.
A Quick Side Note: When you can’t talk, people respond to you as if you can’t hear. When I would write a note to communicate with someone, they would almost always write back to me instead of just talking to me! This happened at the grocery store, the doctor’s office, and the pharmacy. 😊
Personal Amplification System
In addition to talking less, a personal amplification system helps music teachers to save their voices. And, this model is small, compact, and rechargeable!
The waist clip and cross-body strap mean that it works with any outfit. Take a peek.
Last update on 2024-04-25 / Affiliate links / Images from Amazon Product Advertising API
More Tips to Help You Be an Efficient and Effective Elementary Music Teacher
Need more helpful tips to maximize your class time and focus on music literacy? See this post – Integrate Music Reading into Every Lesson.
Meet the Author
Terri Lloyd is a former elementary music teacher with over 25 years of experience. She holds a Bachelor of Music, a Master of Science in Education, and a Technology Certificate in Instructional Design.
She is currently active in music education through blogging, workshops, and curriculum development. She serves on the music staff at her church and volunteers for an after-school children’s program. Terri is an active musician in the community, performing in a local Big Band, pit orchestras, and various events.
2 Comments
Comments are closed.